
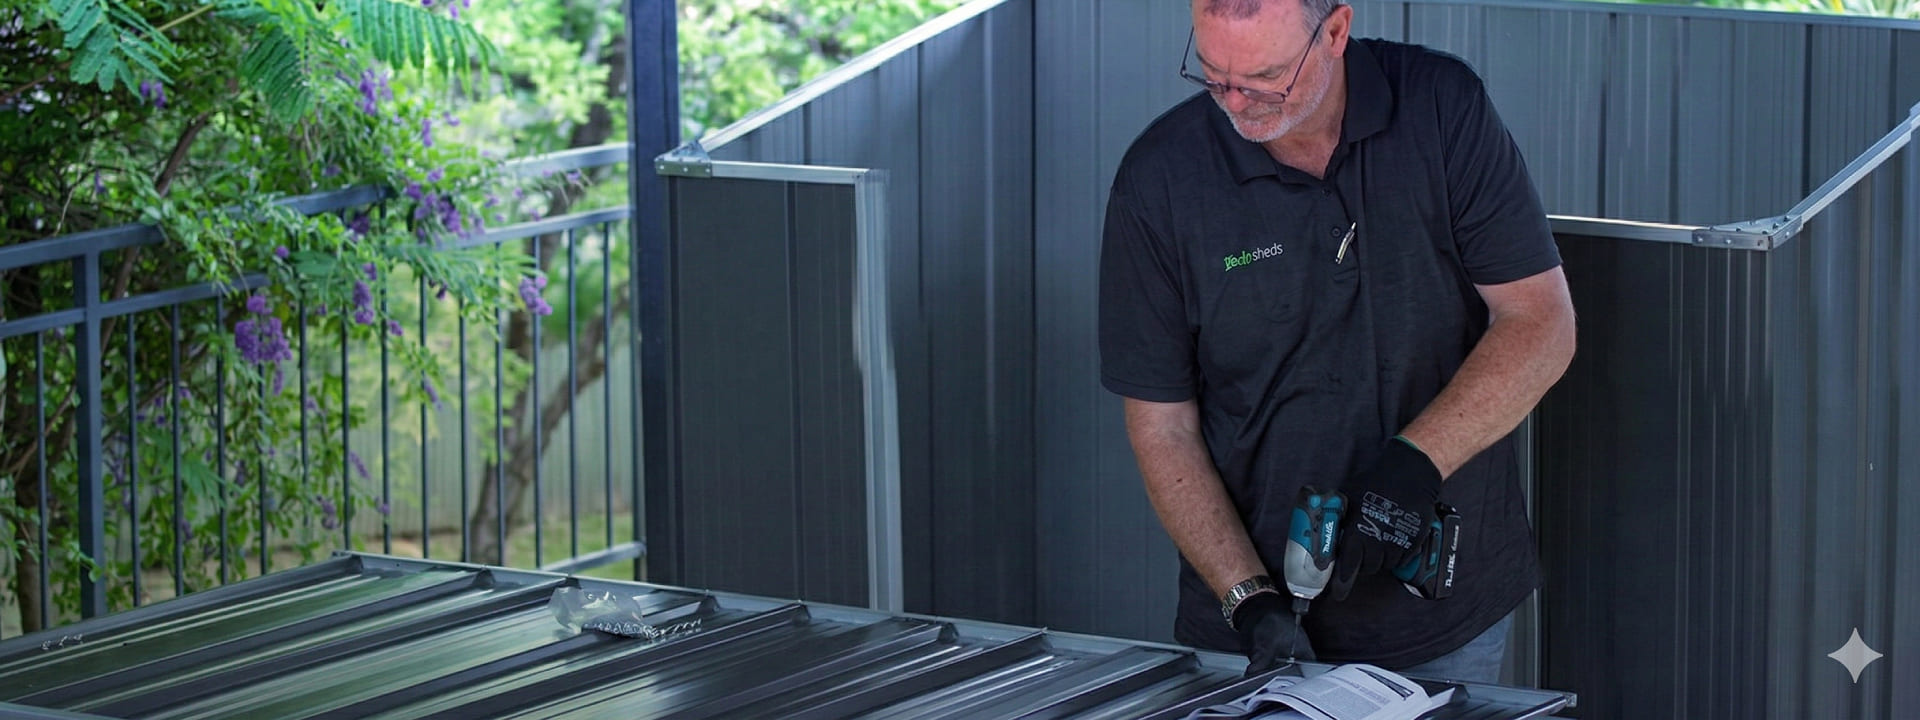
Worried about putting together your shed without professional help? Well, no need to stress any longer! These DIY products are designed for people just like you and as long as you know how to follow instructions and have a helping hand you should be fine.
To make it absolutely safe and easy we have put together some assembly videos for various products, so you can see yourself how it's done.
If you don't see your product below, check out some of the videos as they are very similar for all garden sheds from Garden Sheds Direct, but if you need some additional help please feel free to Contact Us
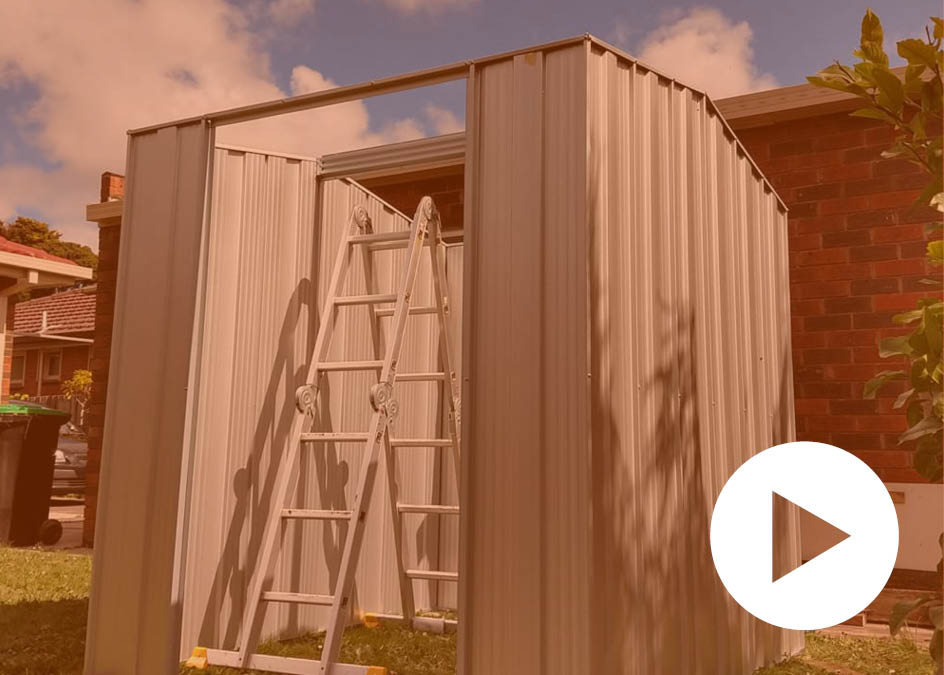
YardSaver Assembly Videos
Step-by-step videos on how to assemble your new YardSaver garden shed:
Watch videos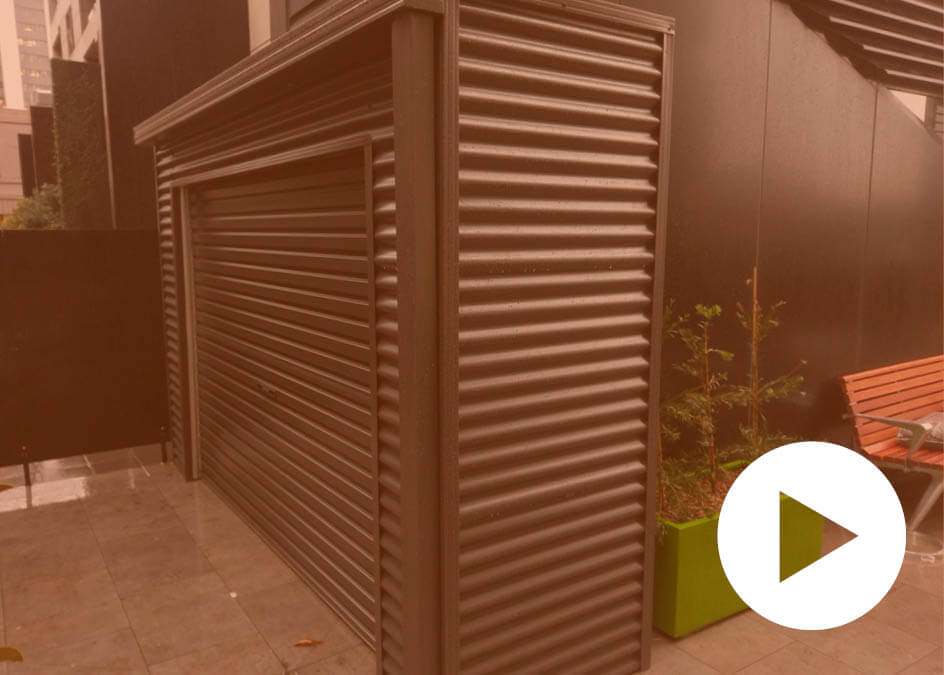
Smartlocker Assembly Videos
Step-by-step videos on how to assemble your new Smartlocker garden shed:
Watch videos
Accessory Assembly Videos
Step-by-step videos on how to assemble your garden shed accessories:
- Windows
- Shelving
- Floor kit
Garden Shed Assembly FAQs
Common questions about assembling your garden shed, answered. If you can't find what you're looking for, our team is always happy to help.
How long does it take to build a garden shed?
Assembly times vary depending on the shed size and your experience level.
- Smaller sheds can often be assembled within a few hours.
- Larger models may take most of a day.
- We recommend having at least two people available during assembly.
- Ensure all required tools and equipment are ready before starting.
Can I build my shed directly on grass or soil?
We don't recommend assembling your shed on grass, dirt, or uneven ground. For the best results, install your shed on:
- A concrete slab
- A treated timber floor or frame
- Another level, solid surface
A proper foundation helps prevent movement, water ingress, and door alignment issues.
The shed feels unstable after assembling the walls. Is that normal?
Yes. Wall panels may feel flexible until the roof is installed. To improve stability:
- Complete the roof installation
- Tighten all fixings once assembly is complete
- Secure the shed to your chosen base using suitable anchors
Why do some panels seem flimsy before installation?
This is completely normal. Individual panels are designed to be lightweight for easier handling. Once all panels, roof sections, brackets and fasteners are installed, the structure gains its full strength and rigidity.
My doors aren't opening or closing properly.
Door alignment issues are usually caused by the shed frame being out of square. Check:
- That your base is level
- The frame measurements are square
- Door hinges are correctly adjusted
Minor adjustments to the hinges can often resolve the issue.
Are the extra holes in some panels supposed to be there?
Yes. Many components are designed to suit multiple shed sizes and accessory options. Some holes may remain unused after assembly and will not affect performance or weather resistance.
Why is there a gap near the roof or corners?
Small gaps are intentionally designed into the shed. These allow ventilation and airflow, helping reduce moisture build-up and condensation inside the structure.
My roof doesn't seem to fit correctly.
The roof relies on the walls being square and properly aligned. Before proceeding:
- Confirm the wall panels are correctly positioned
- Check the shed is square by measuring diagonals
- Verify roof sheets are facing the correct direction
The screw holes don't line up. Is something wrong?
Not usually. Before assuming a fault:
- Check all panels are installed in the correct orientation
- Avoid forcing screws into place
- Start fastening from one side and work across the sheet
- Allow some flexibility by not fully tightening fasteners too early
Temperature changes can also affect panel alignment slightly.
What if I discover parts are missing?
Before contacting support:
- Check all packaging thoroughly
- Review the parts list in the instruction manual
- Confirm the exact part number required
If something is genuinely missing, contact our team with your shed model and order details.
Why do the door panels have a cut line in them?
This is a factory-designed feature. Some door sheets include a pre-cut section that is removed during assembly to achieve the correct door dimensions. Follow the assembly manual carefully and only remove the section when instructed.
Can I assemble the shed during bad weather?
We recommend waiting for suitable conditions. Avoid assembly during:
- Strong winds
- Heavy rain
- Stormy weather
This improves safety and reduces the risk of panel damage.
What if I notice dents or scratches?
Minor cosmetic damage can often be repaired.
- Small dents may be gently worked back into shape
- Surface scratches can be treated with touch-up paint
If a panel has significant structural damage, contact support for assistance.
How are Garden Sheds assembled?
Our sheds utilise a simple panel-based assembly system:
- Build the wall panels
- Connect and secure the walls
- Install the roof sections
Detailed instructions and part identification guides are included with every shed.
How do I identify the gable wall sheets?
When standing outside and facing the door:
- Sheet "A" is positioned on the right-hand side
- Sheet "B" is positioned on the left-hand side
What are the internal dimensions of the shed?
As a guide, internal measurements are approximately:
- 40mm less in width
- 40mm less in depth
than the listed external dimensions.